An industrial test fixture can be mechanically obvious and still be operationally ambiguous. At the beginning of a shift, an engineer may need to know which program belongs to the fixture, whether it is ready for use, which revision it represents, or whether a handover action is pending. Those answers are often split across paper tags, a workstation screen, and informal notes. An e-paper display can make selected information persist beside the fixture, provided that the content and update workflow are engineered as carefully as the fixture itself.
Keep assignment and status information visible in the same physical context as the fixture.
Start with the decision at the fixture
The display should answer the decision a technician makes while standing at the fixture. That could be whether the fixture is assigned, whether the current configuration is approved for use, which station owns the next action, or where to find the controlled record. It should not become a second test controller or an undocumented source of quality data.
Write down the few fields that remain useful between updates. A clear fixture identifier, configuration reference, work state, and attention cue may be enough. Use a sample layout during a real fixture walk-through. Ask a reviewer carrying a unit or tooling to identify the fixture state from the normal approach position. If small text, a dense table, or color-only treatment slows that task, reduce the content before expanding the hardware.
Decide which system owns each item. The fixture display may receive an approved image from a test-management tool, a station controller, or a service workflow, but that source and the update authority should be explicit. A panel that looks current but has no defined update ownership is less useful than a simple panel with a clear fallback state.
Design the update path with the host system
E-paper is suitable for fixture information that remains visible between events. The useful engineering question is how the image is prepared, transferred, checked, and recovered when an update does not complete. Define what happens after a host restart, a disrupted connection, or a change in fixture assignment. The display should show an agreed, recognizable state rather than an unexplained blank or a misleading live-looking value.
The Sunshine Display product range can help an OEM team compare module formats with fixture space and the intended host interface. Use the actual controller or a realistic integration fixture for early tests. A picture loaded from a development tool is not evidence that the power sequencing, cable route, update confirmation, and recovery behavior work in the finished station.
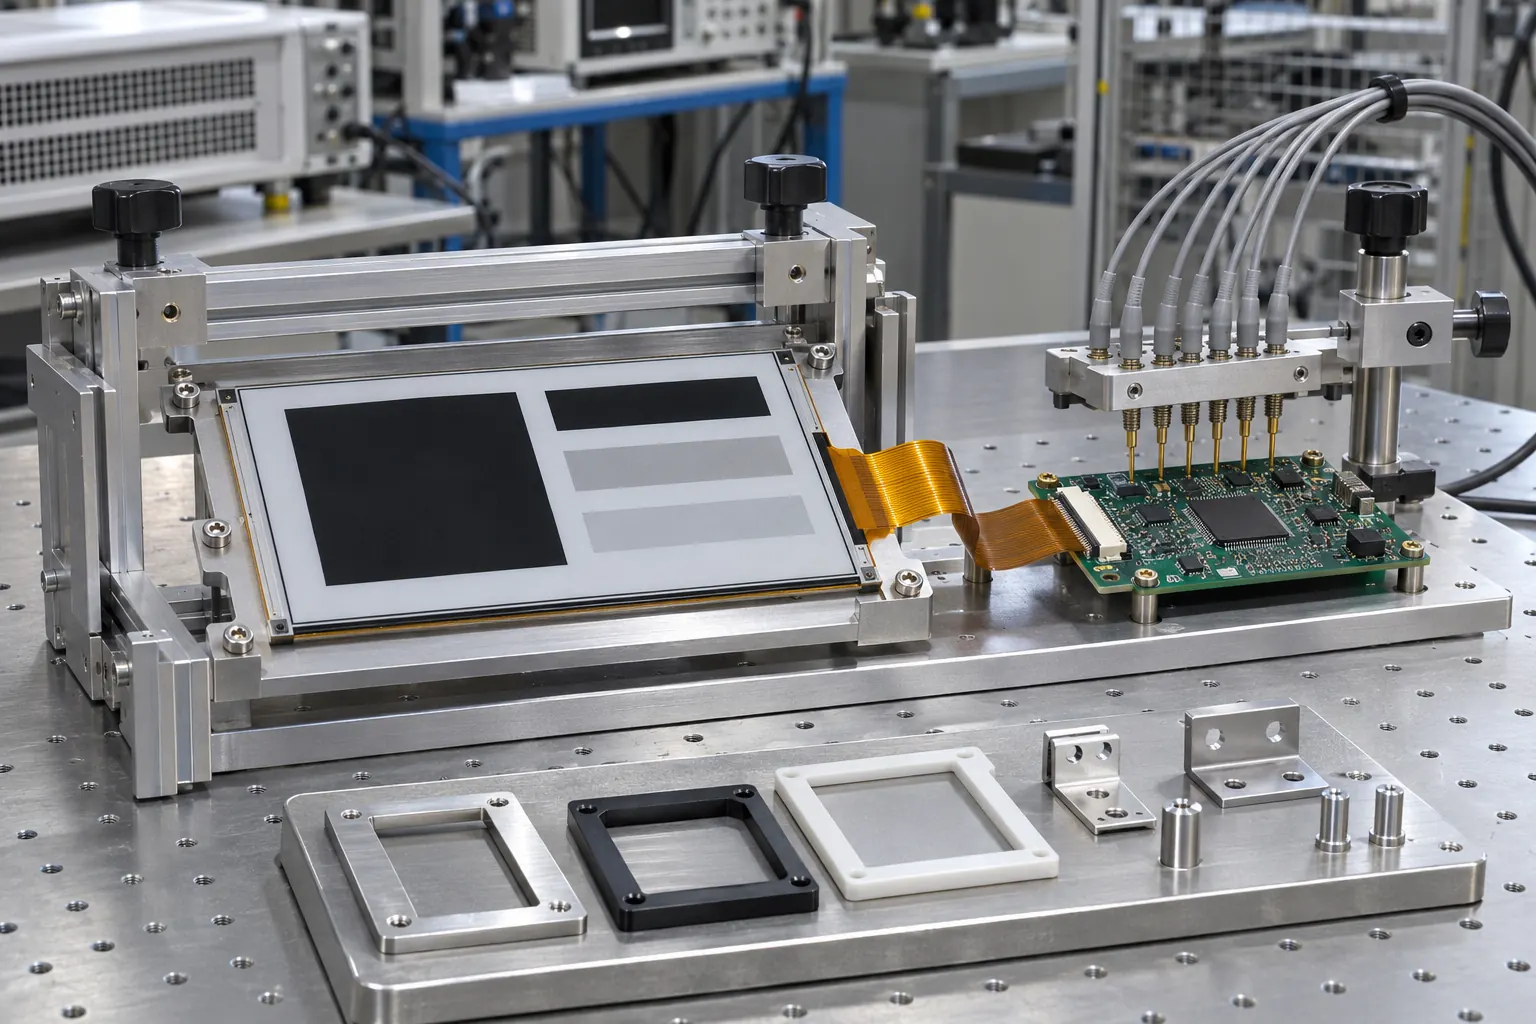 Review the module, host electronics, mounting, and update path together.
Make the module part of the fixture build
A test fixture is rarely a calm mounting environment. It can include clamps, probe interfaces, moving parts, covers, cable looms, and frequent changeovers. The display needs a defined opening, support method, cable route, and protection approach. Check the active area through the intended window or bezel, then inspect the rear of the assembly for cable strain relief and connector access.
Build a production-intent sample. Confirm that the panel stays readable under the lighting around the test cell and from the positions available beside the fixture. Reflections from task lighting, a recessed lens, or a nearby metal surface can change the installed result. Do not approve the image only while holding an uncovered module square to the face.
Service access deserves the same review. Ask how a technician would remove the panel, disconnect the interface, fit a replacement, and confirm the result without disturbing calibration features or probe hardware. If the assembly includes a protective window, gasket, or printed mask, record those elements in the approved configuration. A display module can be unchanged while a small mounting or front-panel change alters readability and replacement work.
 Check the installed window, mounting, cable access, and service path before release.
Use fixture workflows for the acceptance review
Run the sample through the workflow that caused the need for the display. Assign a fixture, hand it to another shift, change the image, restart the host, and return the fixture to service. Observe whether the next person understands the panel without being told what it should say. Keep the test display within its role: it can improve visibility beside the equipment while the controlled test records and release decisions remain in their assigned systems.
Record the module part number, panel orientation, host interface, content revision, mounting details, and tested scenarios. When firmware, cable, lens, or fixture geometry changes, the same record gives engineering and quality teams a baseline for deciding whether another sample review is required.
Keep the approval sample available where practical. It gives production and purchasing teams a physical reference when a replacement module, revised frame, or new controller is proposed. This is more reliable than comparing a new assembly with a memory of how an earlier prototype appeared on a bench.
Build an OEM-ready request
An RFQ needs more than a display diagonal. Include the available opening, mounting depth, likely information density, update owner, host interface, cable constraints, lighting conditions, cleaning or handling exposure, lifecycle expectation, and test plan. Those details let the supplier identify questions before the fixture frame and controller software are fixed.
Before production release, repeat the review with the intended mechanics and representative content. Check visibility, update recovery, cable access, mounting, and replacement sequence. For a persistent status panel that fits into an industrial test-fixture workflow, review industrial display options and share the fixture concept through the Sunshine Display contact page to discuss suitable e-paper module candidates.